Access the Admin Portal through the Eventdex Force portal link.
Step 1 – Go to the Event App tab on the left, and under it go to the App Settings.
Step 2 – Click on the Theme Design to access the Custom Themes through dropdown lists.
Step 3 – Click on Eventdex Products.

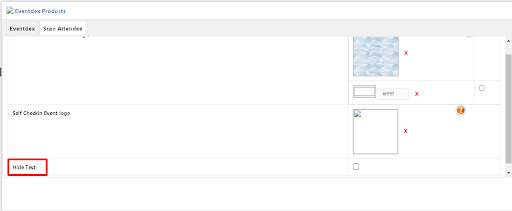
Step 4 – Then click on Scan Attendee, and select your image to be uploaded.
Step 5 – Once selected, click on the image to add the self check-in banner and save it or click on save as to rename the template.
Note : The app supports either portrait or landscape.

To disable the display of the event name on the self check-in screen, you can uncheck the option labeled “Hide Text”.