If you need to print multi badge images, you can do so by using the multi badge image option.
Step 1 : Go to Eventdex Portal and login with your credentials and Select the Event
Navigate to the Event Settings >> Attendee Settings >> Ticket Settings >> Select the ticket and enable the Multi Badge Image under basic information. Don’t forget to save your changes.

Step 2 : Please ensure that you also enable the Multi Badge label in the ScanAttendee settings in order to view them in the scan attendee feature. Refer to the image below for more information.

Step 3 : Navigate to the “Tickets” section and select “Ticket more information“. Here, you have the option to allocate a badge label and tag to the ticket. Once done, click on the save button.

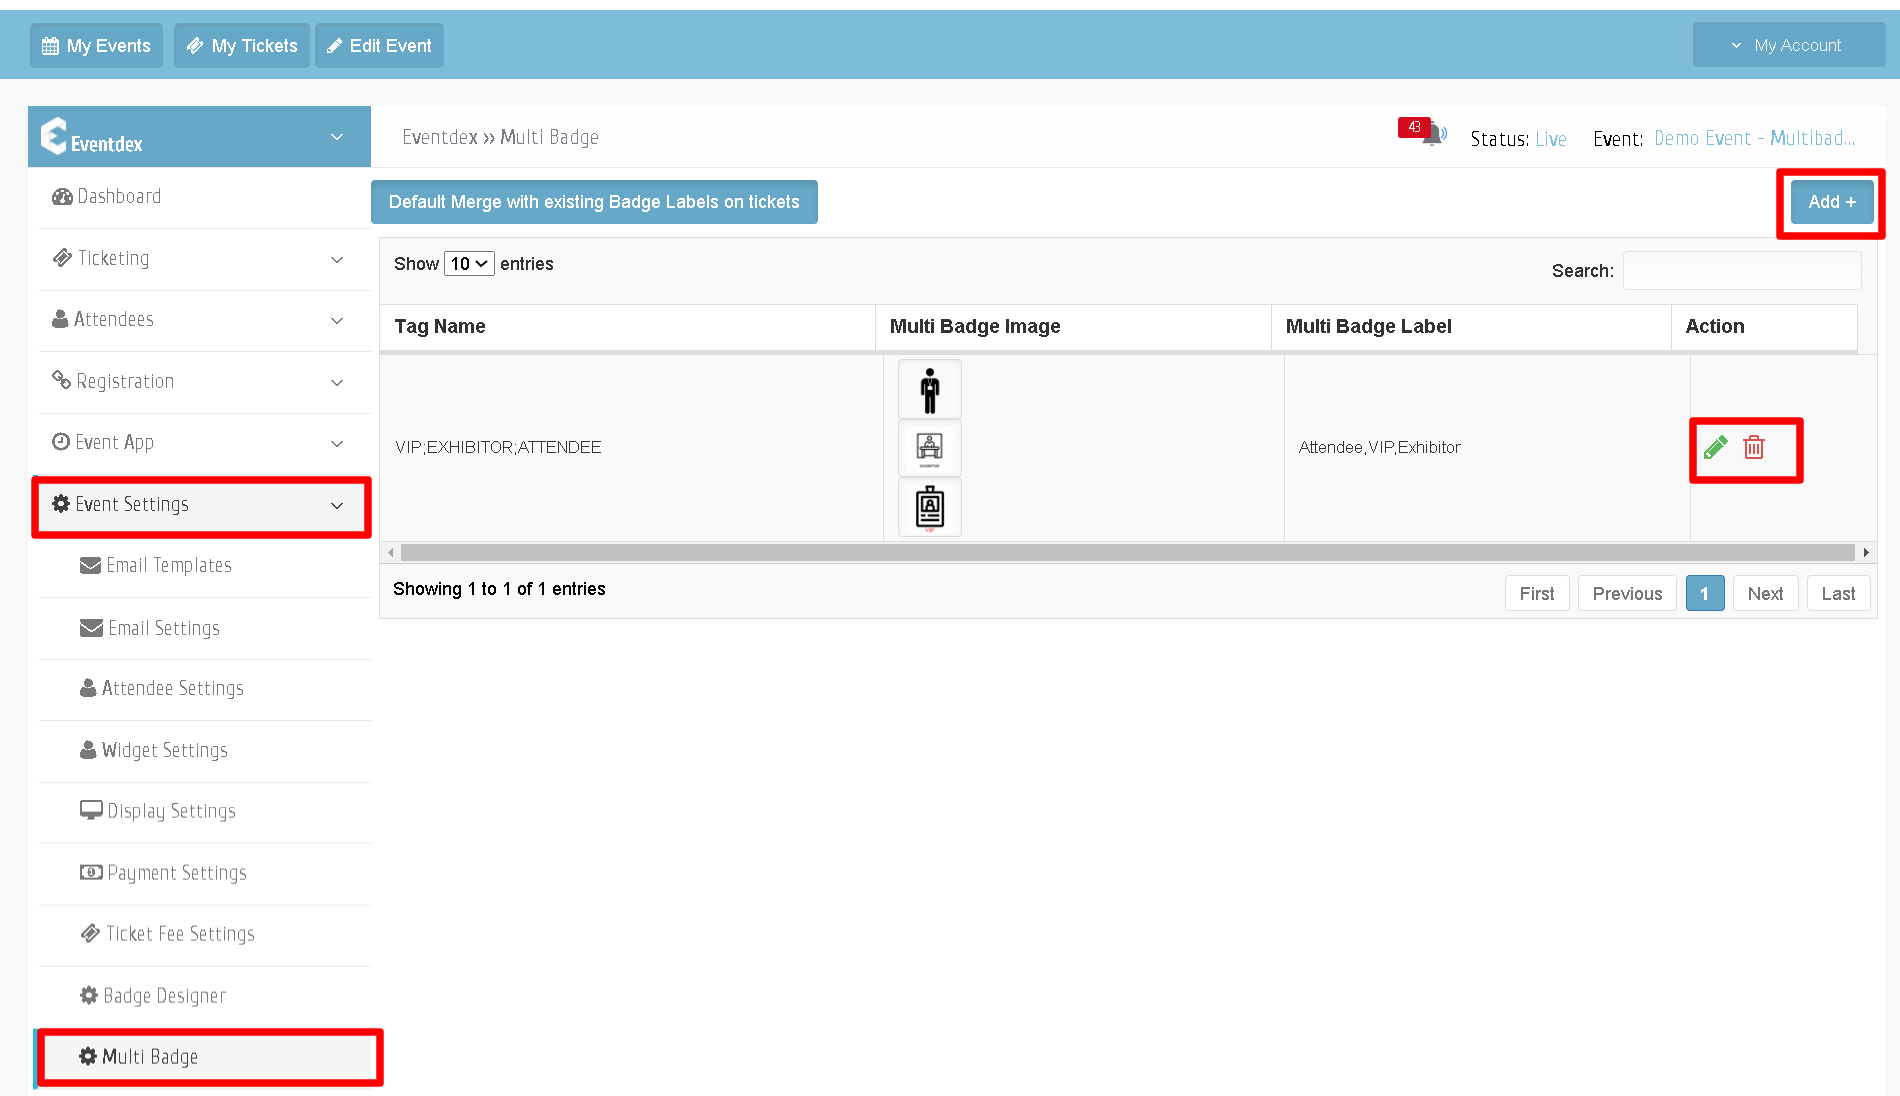
Step 4 : Navigate to Event Settings and select “Multi Badge“.
To add a new tag, click on the “Add” button. If the tag name already exists, click on “Edit“. Next, select “Choose Images” and upload the images you want to be printed on the badge. You can add multiple images and save your selection.

Step 5 :
Create a badge in the ScanAttendee App, include the MULTI BADGE IMAGE field and save it.
You can then choose to print the multi badge label in either a row or column format by selecting the multi badge label field and enabling either “row” or “column” under the miscellaneous tab.

Multi Badge Label Column Preview :

Multi Badge Label Column Preview :
