ScanAttendee self-check-in feature allows attendees to directly go to the kiosk and check themselves into the event.
Here is the process how to do a self-check-in by using ScanAttendee App.
Step1: Please log in to ScanAttendee app by using your registered email address.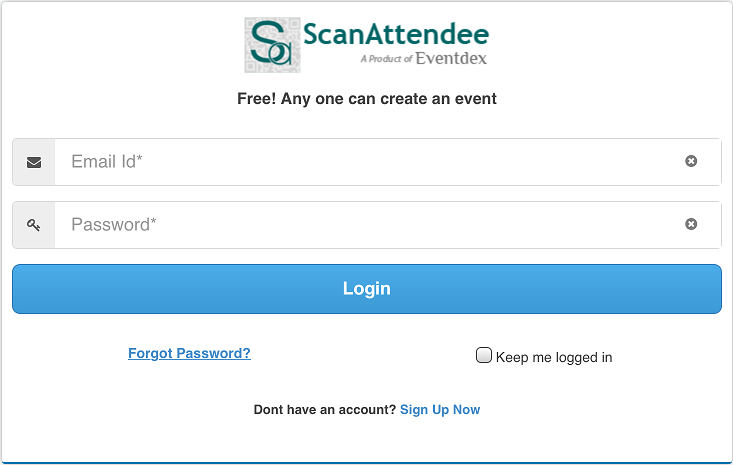
Step2: Select the event that you would like to do attendee check-in process (If you have multiple events in your list).
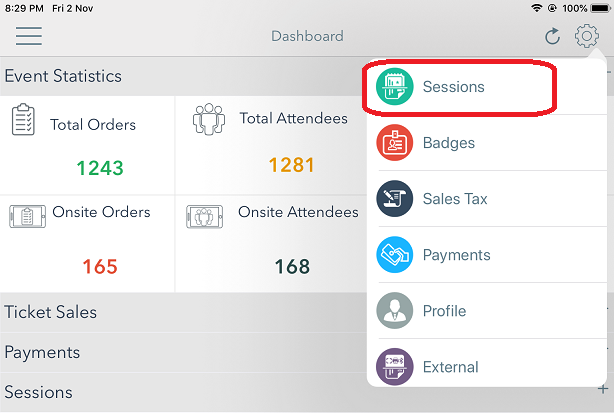
Step3: Now you can see the event statistics dashboard. To setup settings for sessions, please find the Sessions option in the list upon click on gear icon at the top right corner.
(NOTE:- Make sure to change the session options for different sessions before starting the session scanning.)
Step4: You will find the list of sessions that event has you can Turn ON the session using the radio button and tap Done.
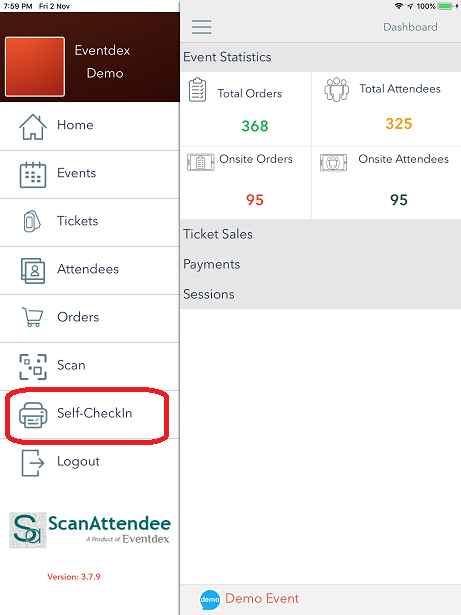
Step5: To enable the Self-Check-In feature, go to Menu at the top left corner of the screen and tap on “SELF CHECK-IN”. Select your preferences and enter a password (default password is set to1234).
Step6: You have two options to select either Printing Badges or Not Printing Badges. The pop-up will open with default settings of Printing Badges.
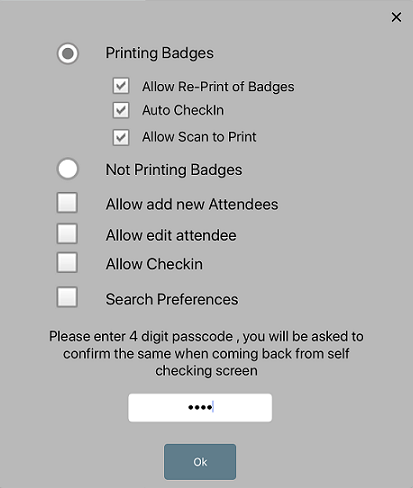
Print Badges: This option is to set for an attendee to print the badge himself at the Kiosk.
Allow Re-Print: You can allow an attendee to re-print the badge at Kiosk.
Auto Check-In: If an attendee prints the badge at Kiosk, the system automatically considers it as “CHECK-IN”.
Allow Scan to Print: This option allows an attendee to print badge by scanning the QR code that’s sent through order confirmation/email communications.
Not Printing Badges: This option lets the attendee get checked-in without printing a badge.
Allow Scan to Checkin: Attendee can scan the QR code printed on the badge using the device camera and get checked-in.
Allow add new attendee: This feature allows users to register themselves up but restricts them from checking-in unless scanned by event admin. Attendee would only be able to print badges using this feature if “Printing Badges” is on.
Allow edit attendee: Attendee can edit his information and print his badge. (If Printing Badges is selected)
Allow Checkin: This option enables the attendee to just do the check-in if he’s already registered attendee but Not Printing Badges should be enabled too.
Search Preferences: This option allows attendees to look up for themselves and update their info, print badge, check-ins etc if permitted by event admins.
Step7: You need to set up 4 digits passcode to enter to the self-checking screen and hit OK.
Now you will be directed to another screen where it can show options to search an attendee and print badges or Scan QR code.
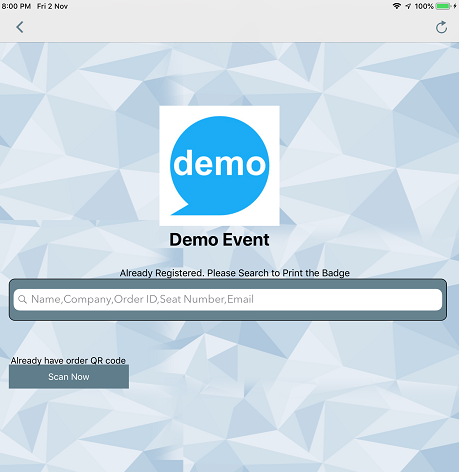
Once the QR code is scanned, you will get a successful message. A sample message is shown below.

Now you all set to scan. Happy Scanning.