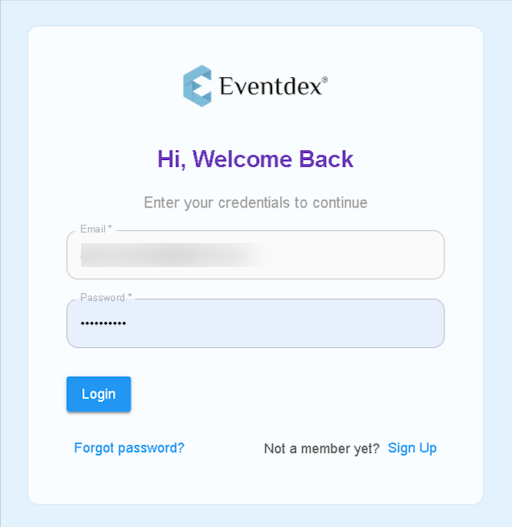
ScanAttendee Web Portal URL : https://sa.eventdex.com/login
Step 1: Login using your ScanAttendee credentials.
Step 2: Select the event you want to create a badge for.

Step 3: After selecting the event, click on the Badge Editor to design the Badge

Step 4: Click on paper settings, you can select Template and Select product as Avery and Template 5392. After selection, it will automatically set the Badge Size to 4″ x 3″ and Paper Size to 8.5″ x 11″.
![]()
Step 5: To add attendee data, click “Data”, you can select and search for the necessary fields that you want to display on the Badge template.
![]()
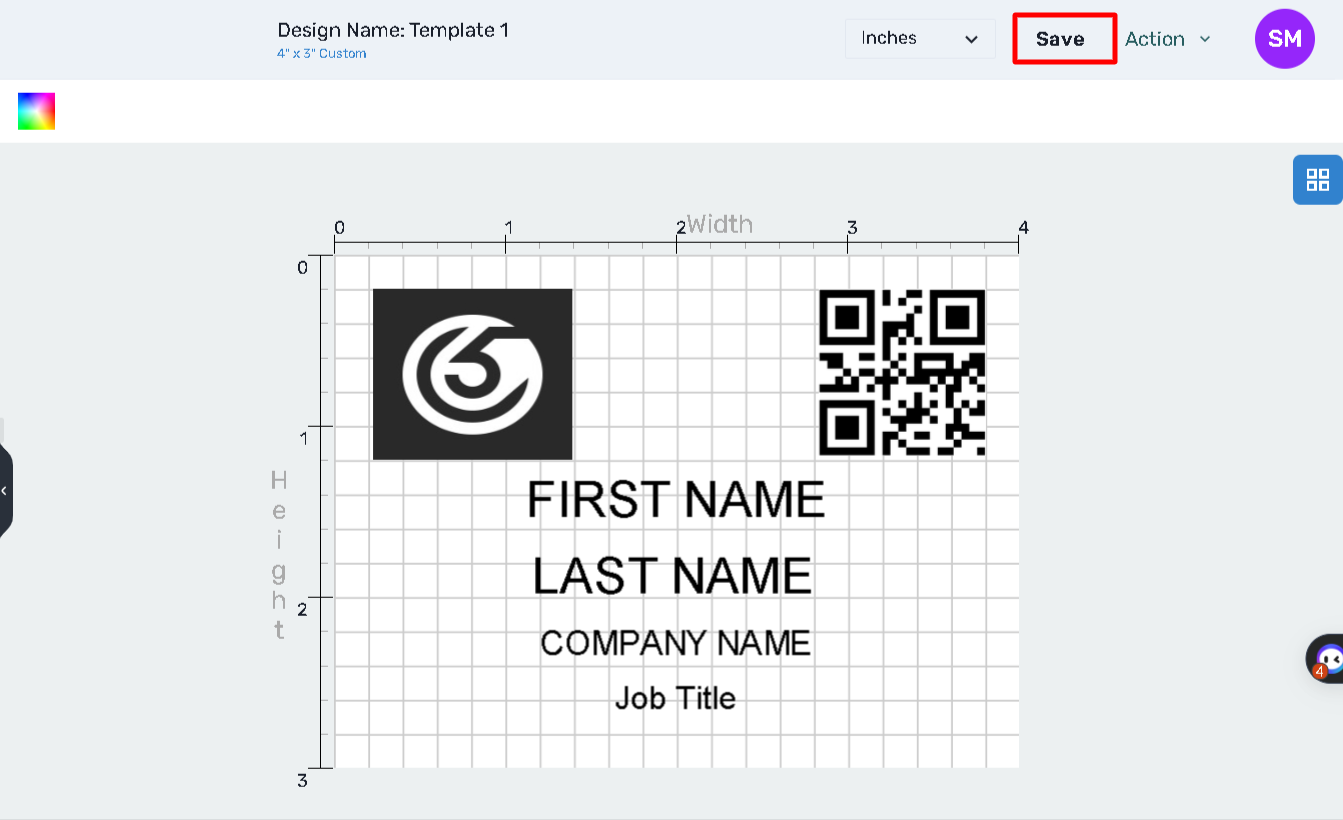
For Add Text, Image and QR Code select the options from the left panel of the page.
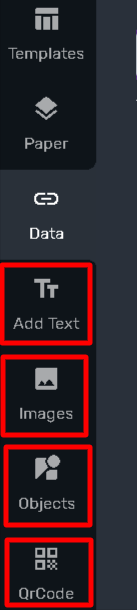
Text: Click on “Text” to add custom text on the badge. You can edit the Font Style, Font Size, Font color and other formats.

Image: To add Image, Click on “Image” and choose Upload from Computer.
You can delete the image by selecting “Remove Image” or “Delete Layer” to delete the image layer.
QR Code: Click on “QR Code” and you can adjust the QR Code size on the badge.
Step 6: Once you have finished designing the badge, click on “Apps” and enable default for Mobile App, Web App and Attendee Registration.
![]()
Step 7: Click on “Save” to save the Badge Template.