Event Admin can load data in the Custom Settings of the Eventdex Portal very easily. To make changes in the Custom Data Settings, follow the given tab sequence.
Step 1. Path: Eventdex Portal >> Login >> Select the Event >> Event Settings >> Custom Data Settings.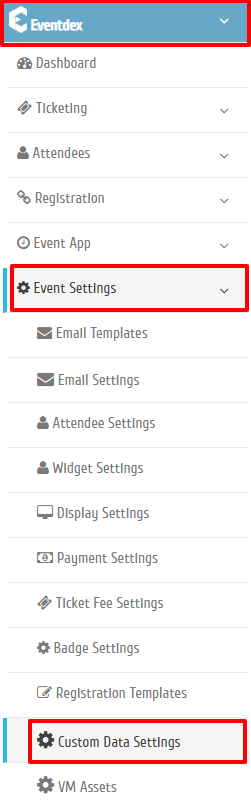
Step 2. Select the desired category you want to change from the Custom Data Settings.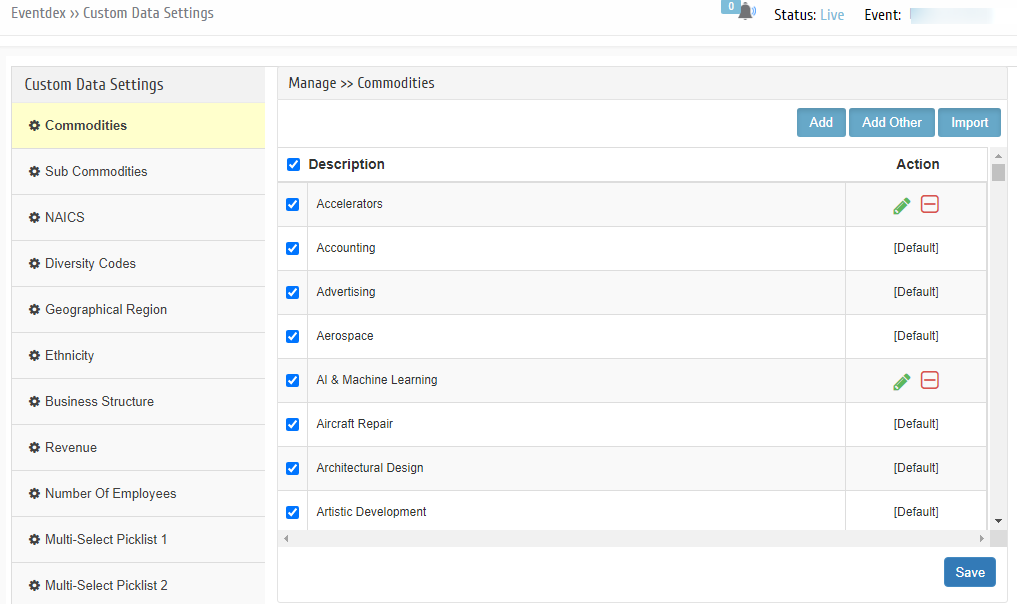
Step 3. Uncheck/Disable the particular codes which you don’t want to reflect or Check/Enable the particular code boxes which you want to reflect on your event’s webpages.
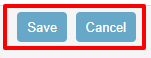
Step 4. Click on “Save” tab to confirm the entries or “Cancel” to exit the page.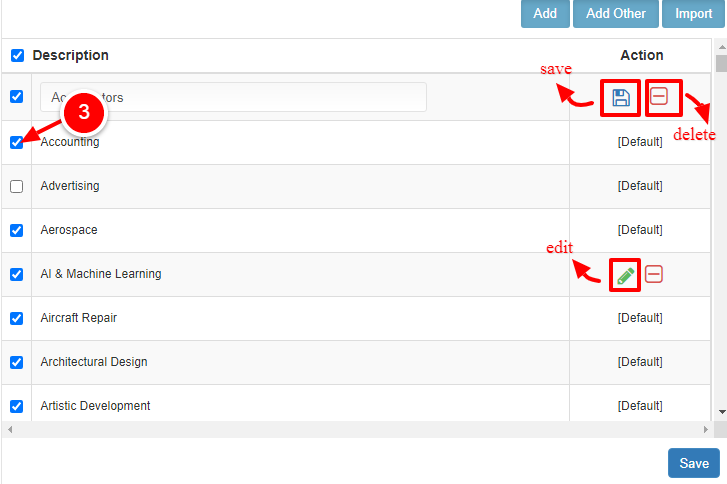 The custom data is reflected at on the event’s webpages for delegates to select their choice of data/codes from its accordion menu.
If still the new Custom Data Settings are not reflected on the relevant event’s webpages, then please follow the below given steps:
Step 5. Go to Attendee Settings >> Ticket Settings
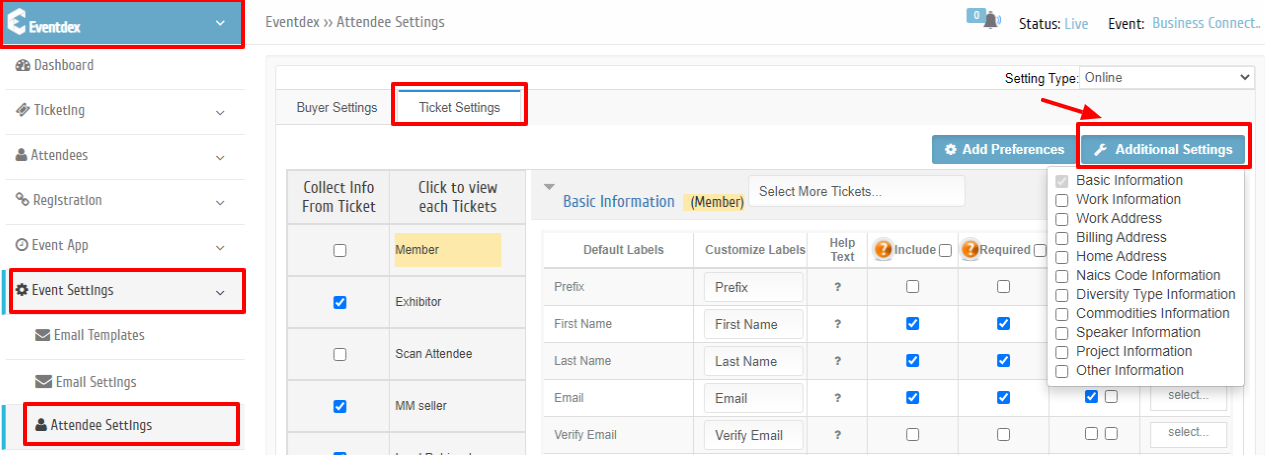
Step 6. Click on “Additional Settings” tab and select the preferred category from the accordion menu.
Step 7. From the lower section of the page, click the particular field for which you have given the custom settings. The preferred code table will appear on the screen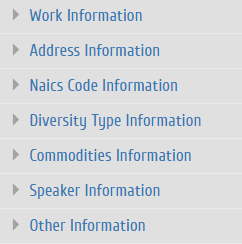
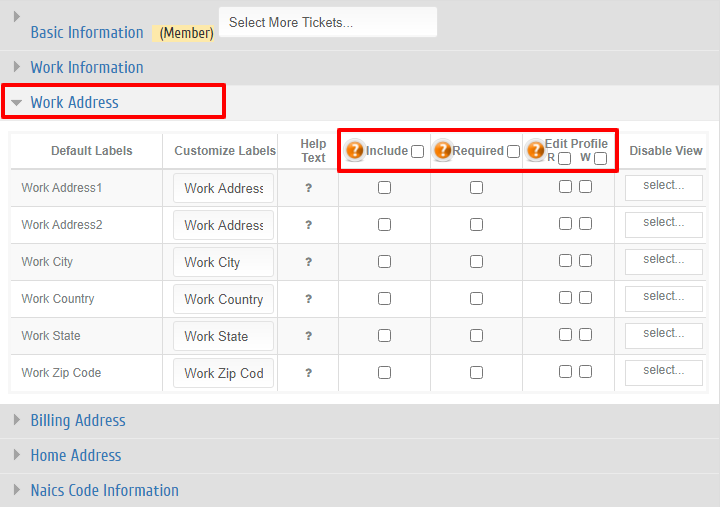
Step 8. Click “Check/Enable” on:
“Include Fields” – The field reflects on the event’s webpages (not mandatory field)
“Require Fields” – The field reflects on the event’s webpages and becomes mandatory field.
Edit Profile
(i)”R” – Read-only option for attendees after ticket order confirmation.(Non-editable registration data for attendees after confirmation)
(ii) “W” – Write option for attendees after ticket order confirmation. (Attendees can edit their registered data even after tickets are booked & confirmed)
Step 9. Click on “Save” tab to confirm the entries or “Cancel” to exit the page.