To initialize the process, please make sure that you are logged into the Eventdex portal using the same email address that you have used for registration.
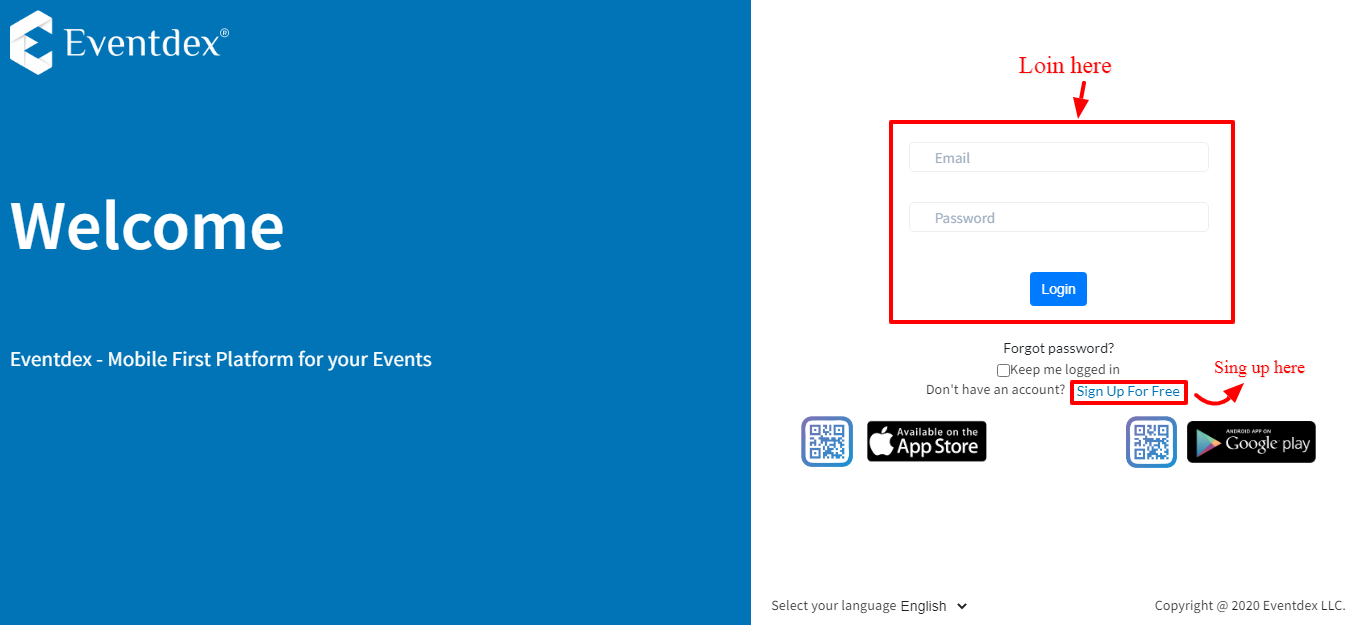
Step 1: The new MatchMaking portal can be accessed by visiting https://match.eventdex.com.
- If you previously used the Eventdex platform, login with your same ID (email must be the same as the one which you registered for this event).
- If new to the Eventdex platform, please click on the “Sign up” to create an ID and password. You will also need to accept the “Allow Access” to be able to use the platform.
Step 2: Click on the event to see your Dashboard.

Step 3: In the Dashboard tab, you will have the option to view the following features:
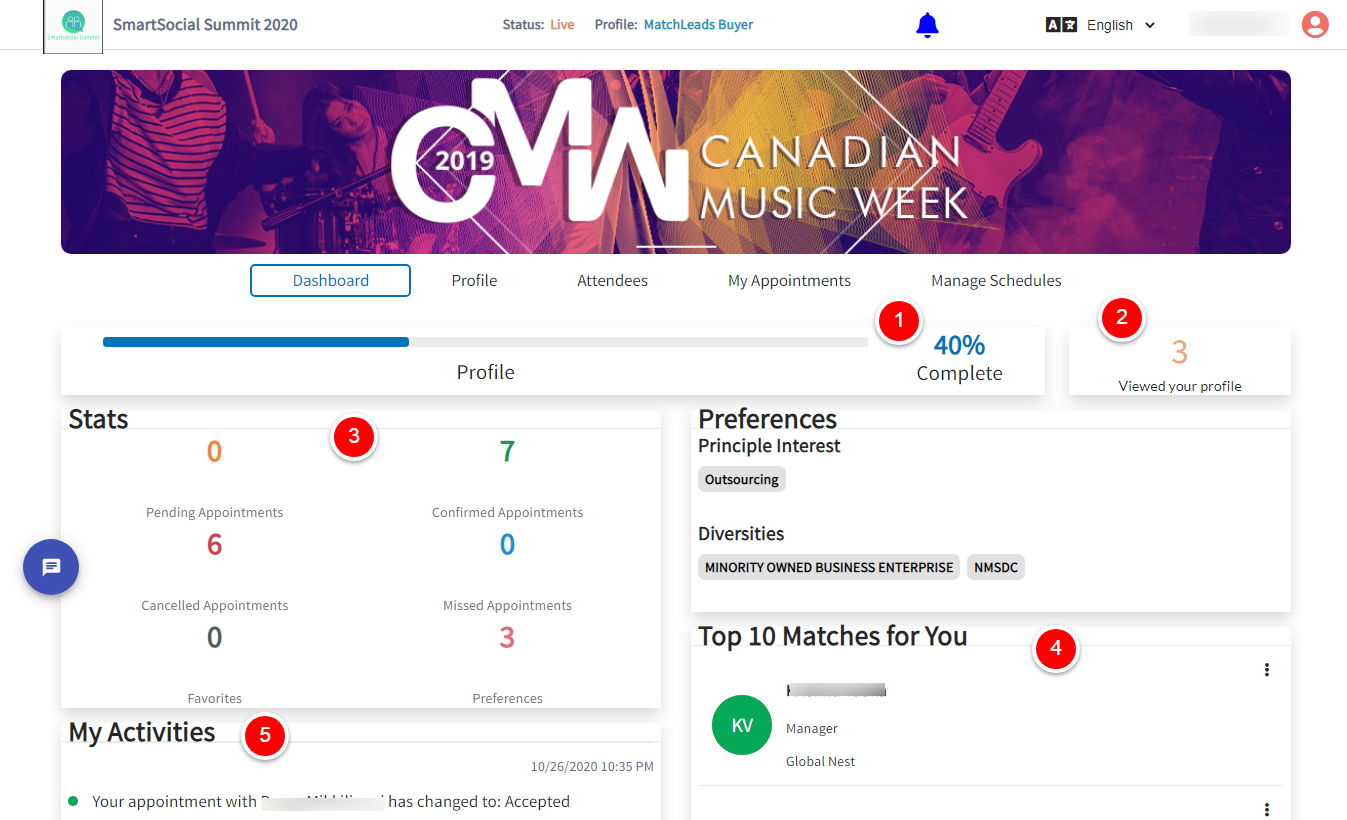
- Profile complete percentage is calculated based on the formula: (# of completed fields / Total number of fields) * 100. Example: (¾) * 100 = 75%
- How many people have viewed your profile?
- Dashboard Stats – Dashboard Stats will help attendees look at the overall statistics in a single place.
- Pending Appointments – If you have any appointments that are pending approval
- Confirmed Appointments – Total accepted appointments
- Cancelled Appointments – The number of cancelled appointments
- Missed Appointments – If you miss an appointment, then it is either marked as missed by an admin the other party, or you.
- Favorites – Total number of attendees you have marked as a favorite
- Preferences – How many preferences your profile has
- Top Matches for you
- My Activities.
Step 4: In the Profile tab, you will have the option to update the profile
- You can copy the profile from the past event:
Click on the Copy Profile icon –> Select a past event from which you want to update your profile –> Select agree to update your profile.
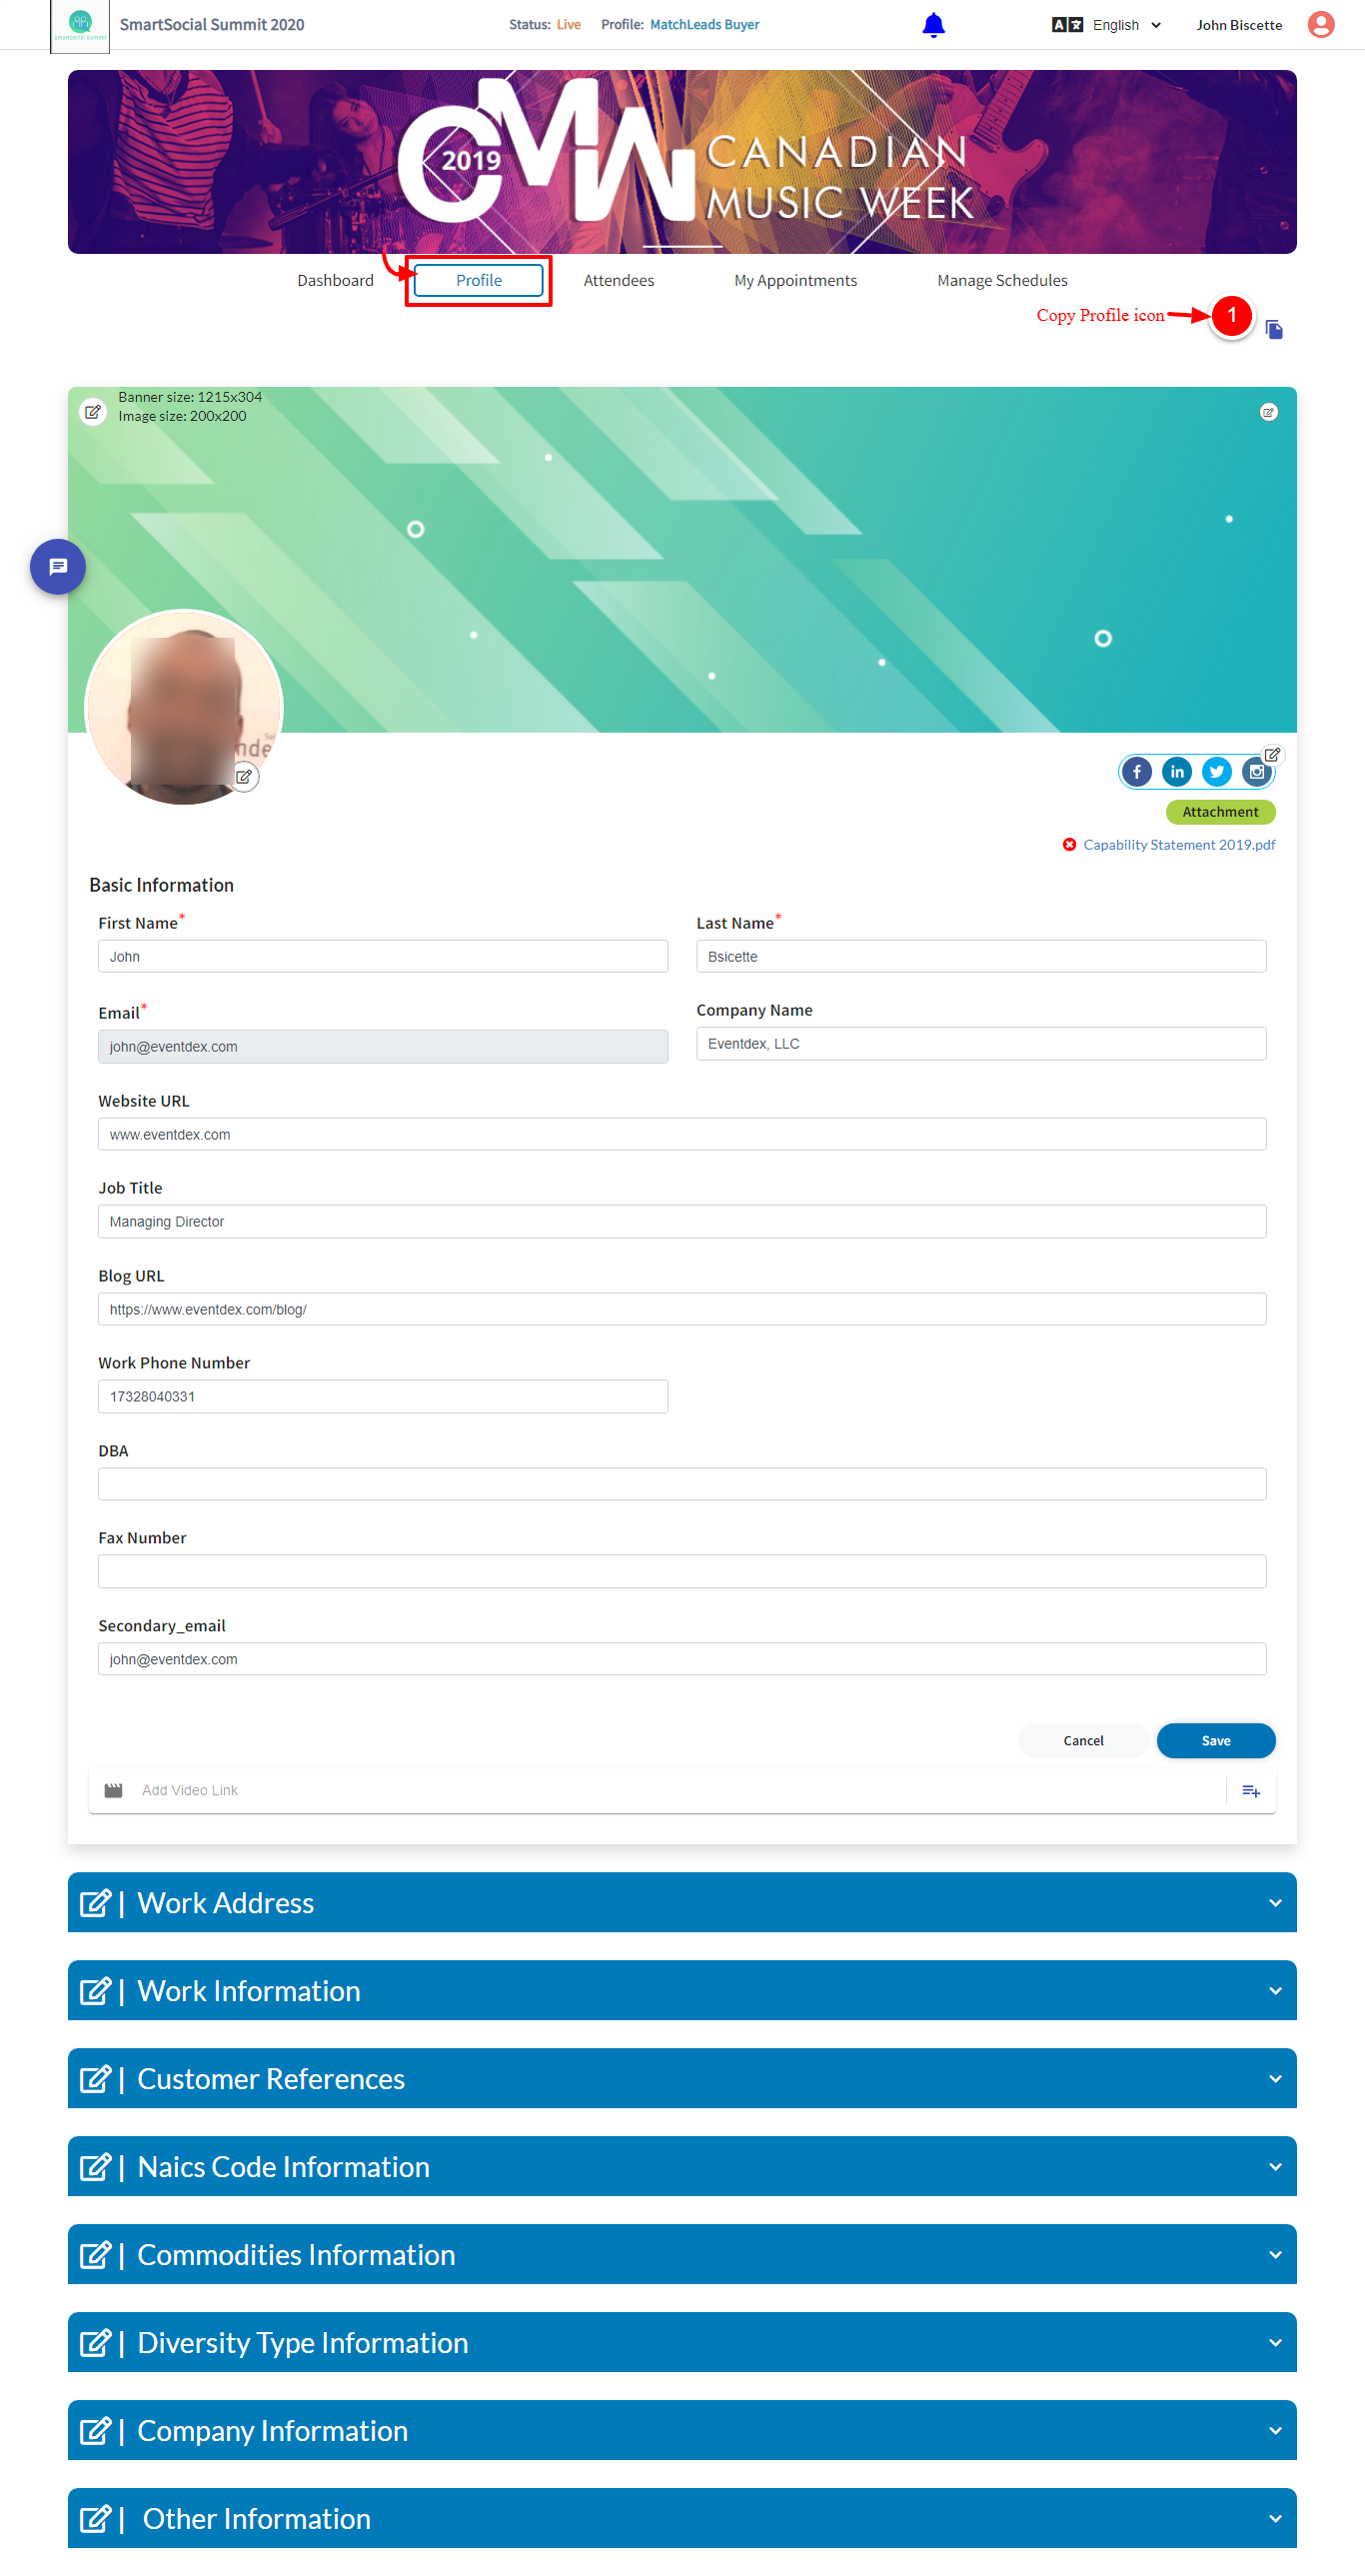
- Add a custom banner (1215 x 304) to beautify your profile.
- Add your Image ( JPEG, PNG 200X200).
- Add your company logo.
- Fields with gray color are read-only. Example: The Prefix (eg: Mr.) field is read-only. You will not be able to edit.
- The fields with a red asterisk are mandatory fields. You will not be able to save it if it is blank.
- You can update your social links.
- You can add an attachment (size: 200KB) (company brochures or capability statement).
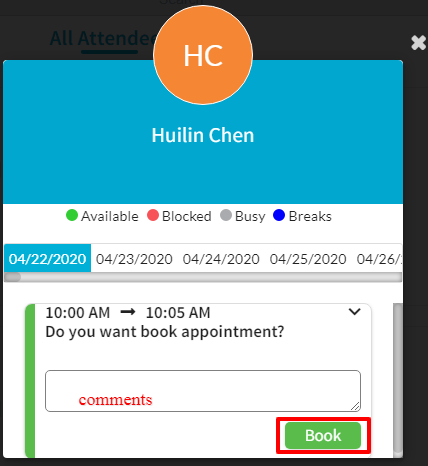
Step 5: In the Attendees tab, choose your best match then click on Book appointments.
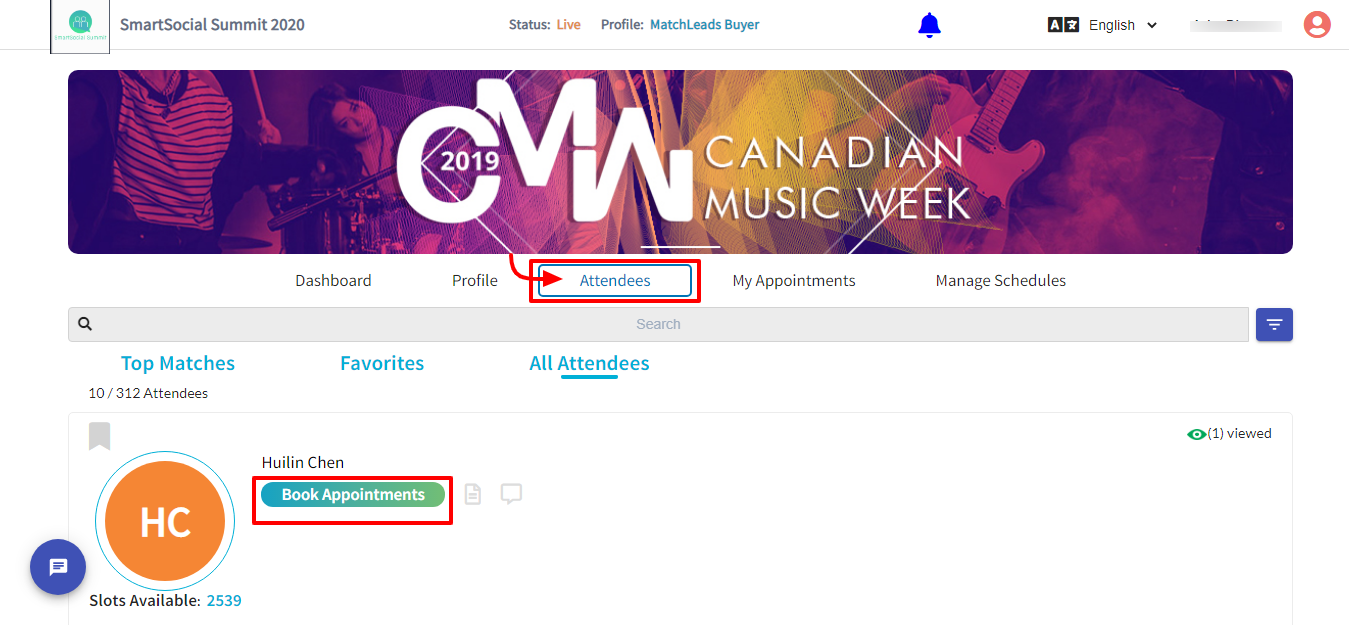
For more details visit here https://www.eventdex.com/support/article-categories/attendees
Step 6: Select the Date and Time then click Book. Your request will then be sent to your match.
Step 7: In the My Appointments tab, you can see and manage your appointments.

- Test Call – Visit here to learn more about test calls https://www.eventdex.com/support/knowledge-base/self-testing-the-video-calls
For more details visit here https://www.eventdex.com/support/article-categories/my_appointments
Step 8: In the Manage Schedules tab, you can block time slots that you are not available at.
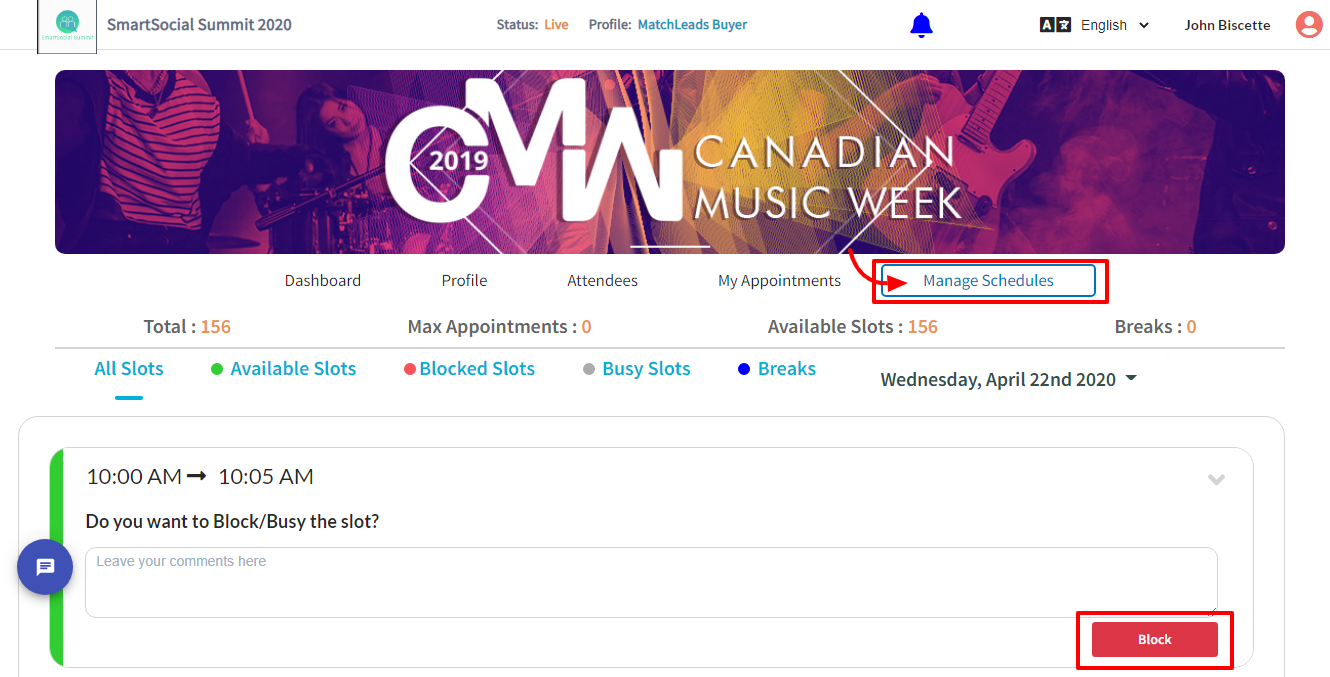
For more details visit here https://www.eventdex.com/support/article-categories/manage_schedule