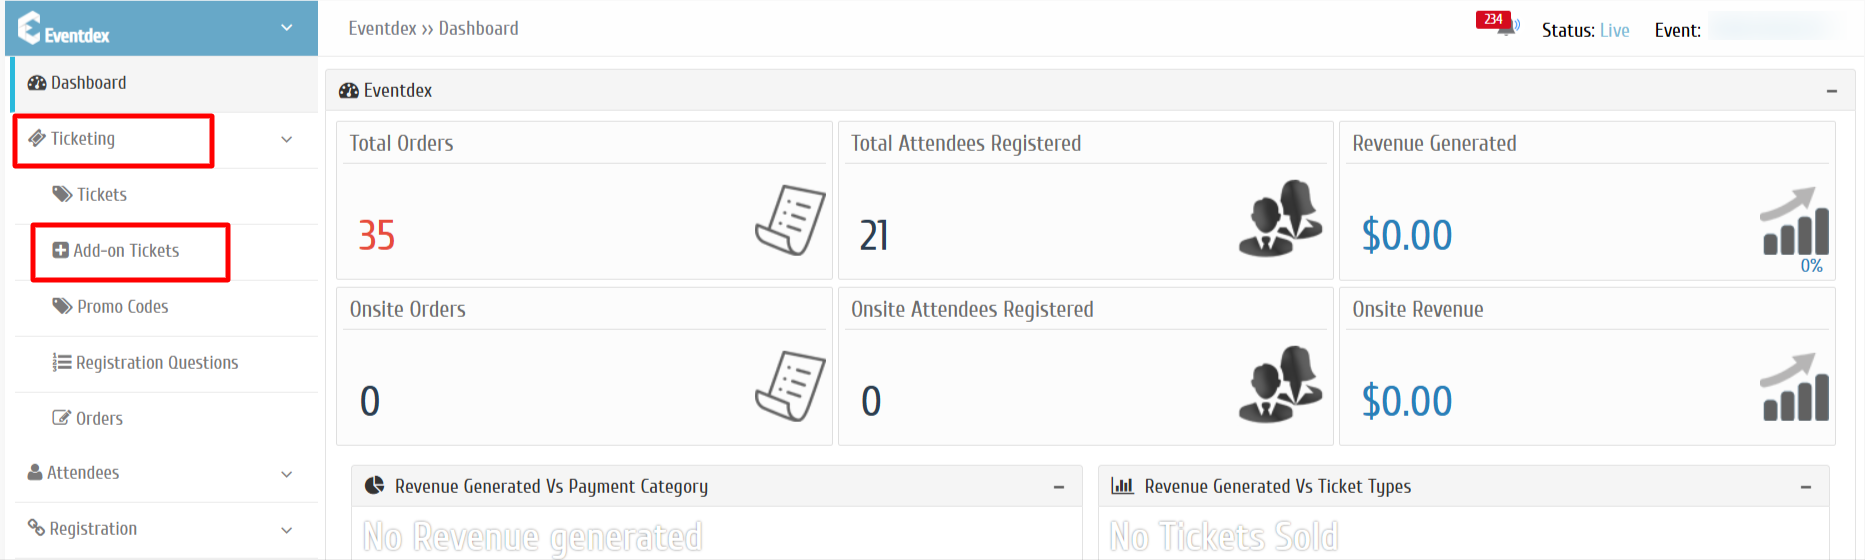
Step 1: Go to Eventdex Portal >> Login with your credentials >> Select your Event.
Step 2: Click on the “Ticketing” section and from its accordion menu, click on the “Add-on Tickets” subsection.
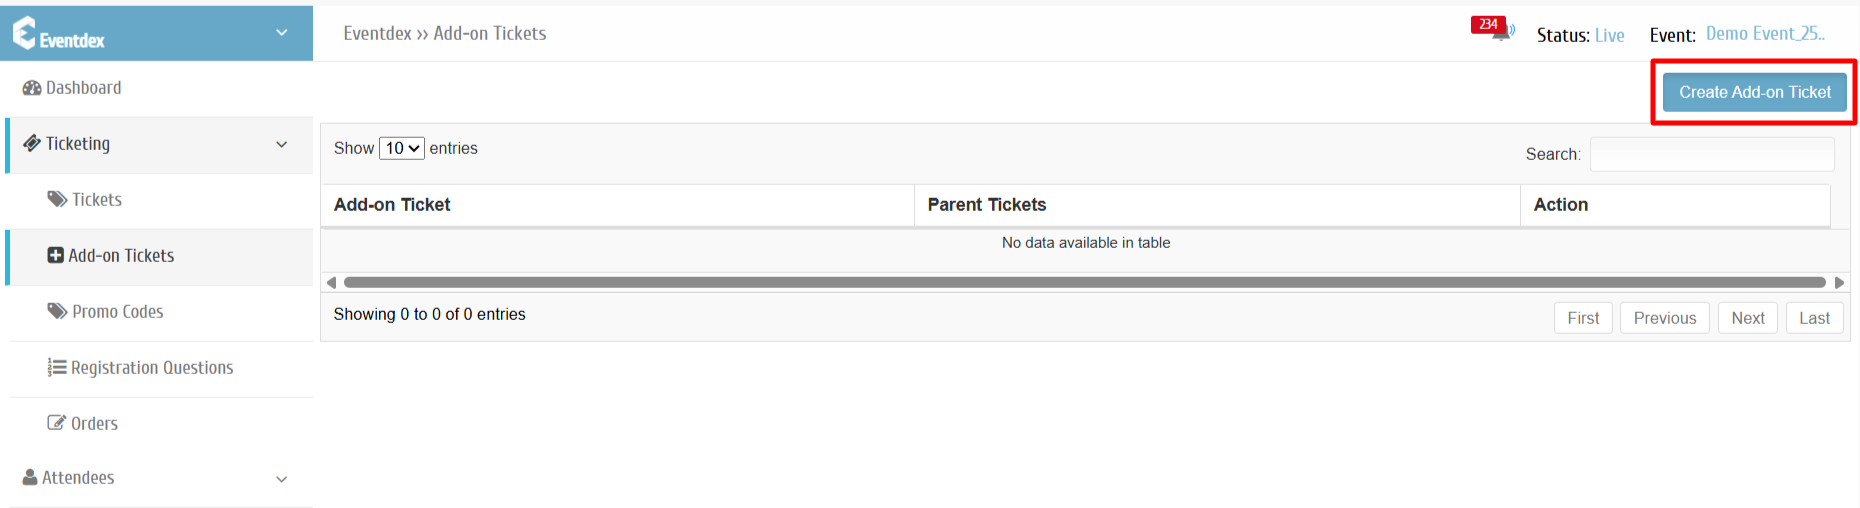
Step 3: Click on “Create Add-on Ticket”
Step 4: Select the Add-on ticket and enable the parent ticket to that Add-on ticket.
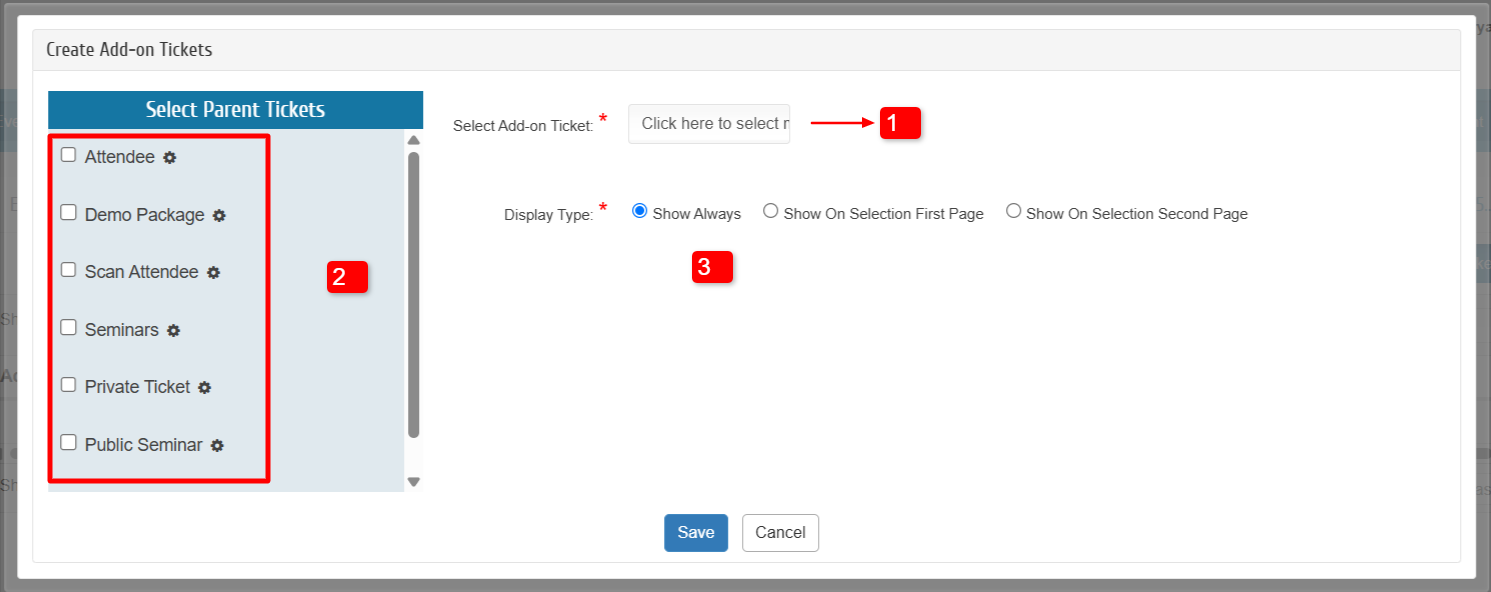
- Select Add-on Ticket
- Select the Parent ticket for the Add-on ticket.
- Enable display type for the Add-on ticket
Show Always: Add-on ticket will be displayed by default.
Show on Selection First Page: Add-on ticket will displayed upon selection in the registration first page.
Show on Selection Second Page: Add-on Ticket will displayed in the second page of registration page upon selection of its parent ticket.
Step 5: Click on “Gear Icon” to manage Add-on ticket limits.
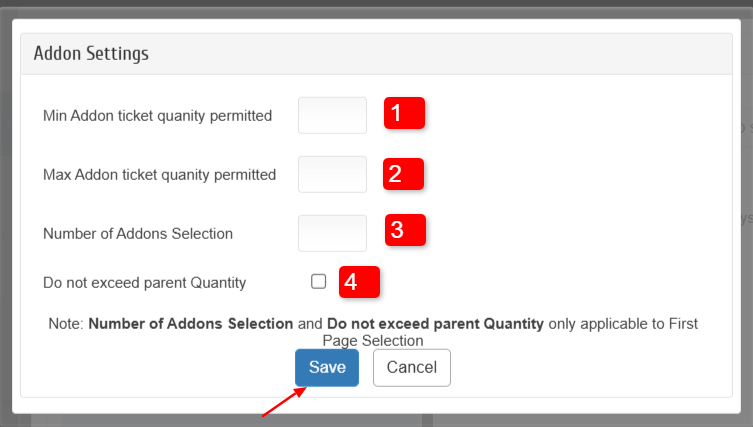
- Provide Min Add-on Ticket quantity permitted
- Provide Max Add-on Ticket quantity permitted
- If you have multiple Add-on tickets for a parent ticket, you can set a limit for it selection.
- If you would like to limit the Add-on ticket based on the selection of its parent ticket quantity, you can enable “Do no exceed parent Quantity” option.
Upon updating, click on save.